Step-by-Step Guide to Perfect Gel Manicure at Home
Cortiva Institute
- Learn gel manicure at home steps for a professional finish.
- Discover the essential items in a home gel nail kit.
- Follow our DIY gel nails tutorial for flawless results.
Achieving a perfect gel manicure at home is easier than you might think. With the right tools, a bit of patience, and our comprehensive guide, you can enjoy salon-quality nails without leaving the comfort of your home. Below, we will walk you through the gel manicure at home steps, provide essential gel nail application tips, and help you make the most of your home gel nail kit.
Step 1: Gather Your Materials
Before you start, ensure you have all the necessary items. Here’s what you’ll need in your home gel nail kit:
- Nail file and buffer
- Cuticle pusher
- Lint-free wipes
- Gel base coat
- Gel color polish
- Gel top coat
- LED or UV lamp
- Isopropyl alcohol
- Cuticle oil
Having everything ready will make the process smoother and more enjoyable.
Step 2: Prepare Your Nails
Proper nail preparation is crucial for a long-lasting gel manicure. Follow these gel manicure at home steps to prep your nails:
- Clean and Trim: Remove any old polish and trim your nails to your desired length.
- Shape and Buff: Shape your nails with a file and gently buff the surface to remove any shine.
- Push Back Cuticles: Use a cuticle pusher to gently push back your cuticles. This helps the polish adhere better.
- Clean Nails: Wipe your nails with a lint-free wipe soaked in isopropyl alcohol to remove oils and debris.
Step 3: Apply the Base Coat
Applying the base coat correctly is a vital step in your DIY gel nails tutorial.
- Thin Layer: Apply a thin, even layer of the gel base coat to each nail, being careful to avoid the skin and cuticles.
- Seal the Edge: Seal the free edge of your nails by brushing the base coat across the tip.
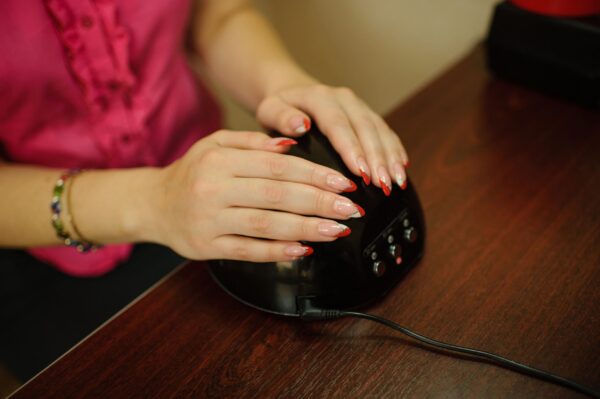
- Cure Under Lamp: Cure your nails under an LED or UV lamp according to the manufacturer’s instructions (usually 30-60 seconds).
Step 4: Apply the Gel Color
This step involves applying the gel color polish, following these gel nail application tips:
- Thin Coats: Apply the gel color polish in thin, even coats. Thick layers can cause bubbling or peeling.
- Seal the Edge: Again, seal the free edge of your nails with the polish.
- Cure Between Layers: Cure each layer under the lamp. Two to three coats usually provide the best coverage.
- Check Coverage: Ensure each nail is fully covered and cured before moving to the next coat.
Step 5: Apply the Top Coat
The top coat seals your color and adds shine:
- Even Application: Apply an even layer of the gel top coat, ensuring full coverage.
- Seal the Edge: Don’t forget to seal the free edge again.
- Final Cure: Cure your nails under the lamp one last time.
Step 6: Finishing Touches
Once your nails are fully cured, follow these steps to finish your DIY gel nails tutorial:
- Wipe Residue: Use a lint-free wipe and isopropyl alcohol to remove any sticky residue from the nail surface.
- Hydrate Cuticles: Apply cuticle oil to keep your cuticles moisturized and healthy.
Tips for Long-Lasting Gel Manicure
To ensure your gel manicure lasts as long as possible, here are some additional gel nail application tips:
- Avoid Water Exposure: Try to keep your nails dry for at least a few hours after application.
- Use Gloves: Get used to wearing gloves when doing any activities that involve harsh chemicals, including household chores.
- Moisturize Regularly: Keep your hands and cuticles hydrated to prevent your nails from becoming brittle.
Removing Gel Nails
Proper removal is crucial to maintain healthy nails. Avoid peeling off the gel polish, which can damage your nails. Instead, follow these steps:
- File the Surface: Gently file the top layer of the gel polish.
- Soak in Acetone: Soak cotton balls in acetone, place them directly on your nails, and wrap your fingertips in foil. Let it sit for 10-15 minutes.
- Gently Remove: Use a cuticle pusher to gently scrape off the softened gel polish.
- Buff and Hydrate: Buff your nails and apply cuticle oil to nourish your nails.
By following these gel manicure at-home steps, you can achieve a stunning, long-lasting gel manicure without visiting a salon. With practice, you’ll become more confident and skilled in your DIY gel nails tutorial. Remember to always take care of your nails and enjoy the process!
Ready to take your skills to the next level? Explore our courses and programs at Cortiva Institute and start your journey to becoming a beauty expert today!